Tutorial: Manga/Anime Eyes


Next is the more masculine eye which has a more rectangular shape than the feminine eye. If you need a tough guy this is the eye to use. Notice the "untrimmed" eyebrows.
 Neutronite


Next is the more masculine eye which has a more rectangular shape than the feminine eye. If you need a tough guy this is the eye to use. Notice the "untrimmed" eyebrows.
 Neutronite
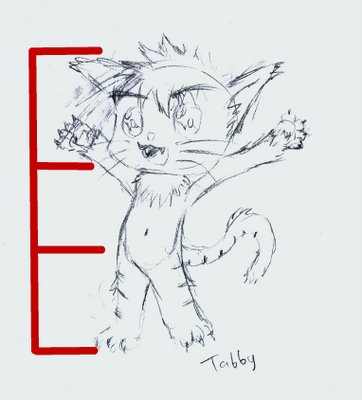
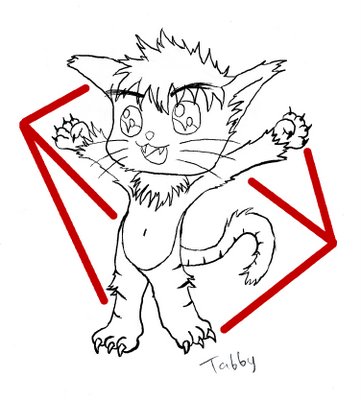
Let's get to the meat and potatoes of actually drawing a manga character (forgive the excessive use of idioms). First this any character absolutely needs is proper proportion, otherwise you end up with an ugly and unnatural looking character. Chibi style is characterized by a "three-head tall" anatomy, in contrast to normal manga which has seven to eight-head high characters. To help keep proportions consistent, I recommend using bubble drawing before you full flesh out a character.

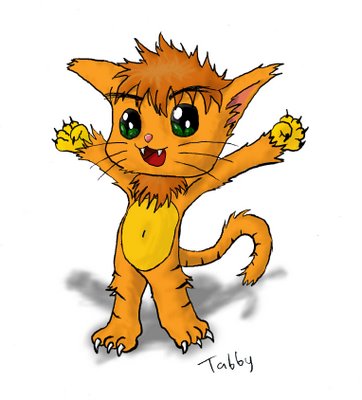
Once the base colors are in, you can use layers and an airbrush setting to shade your character to a desired depth. The particular method that I used on this was a technique know as "CG-ing". This is basically using an airbrush to make it look like it was computer generated or 3-D. Cel Shading is another method that can be used to create a more anime type feel, although it is quite flat looking. Some advice when coloring characters, it helps to stick to a color scheme of three main colors; otherwise, the image may become too chaotic.
This was my first tutorial on anime/manga, so I would like some feedback on how I did. If you have any questions or comments on the "how to's" please feel free to give me notice. Coming up next week, tutorial on the construction of the the head, face, eyes, mouth, and nose.
Neutronite